A Closer Look Into WebRTC
We recently announced WebRTC support in Safari 11 on High Sierra and iOS 11 in our last WebKit blog post. Today, we would like to dive into more details of our implementation, and provide some tips on bringing WebRTC support to your website.
A website employing WebRTC and media capture can obtain and broadcast very personal information. Users must explicitly grant their trust to the website, and assume that their pictures and voices are used appropriately. WebKit requires websites to meet certain conditions in order to use the technologies and protect the privacy of its users. Additionally, Safari shows users when their capture devices are used, and gives users ways they can control a website’s access to their capture devices. For developers that use WebKit in their apps, RTCPeerConnection and RTCDataChannel are available in any web view, but access to the camera and microphone is currently limited to Safari.
Develop Menu
Safari Technology Preview 34 exposes various flags to make it easier for you to test your WebRTC website or integrate Safari in your continuous integration systems through the Develop > WebRTC sub-menu:

We’ll go through each of these flags and explain how they can help you in your development below.
In addition, WebKit logs WebRTC state to the system log, which includes SDP offers and answers, ICE candidates, WebRTC statistics, and incoming and outgoing video frame counters.
Security Origin Policy for Media Capture
Websites that wish to access capture devices need to meet two constraints.
First, the document requesting the camera and microphone needs to come from a HTTPS domain. Since that can be burdensome when you’re developing and testing locally, you can bypass the HTTPS restriction by checking “Allow Media Capture on Insecure Sites” in the Develop > WebRTC menu.
Second, when a sub-frame requests a media capture device, the chain of frames leading to the main frame needs to come from the same secure origin. The user may not recognize the sub-frame’s third-party origin in relation to the main frame, so this constraint avoids confusing the user about whom the user is granting access to.
Mock Capture Devices
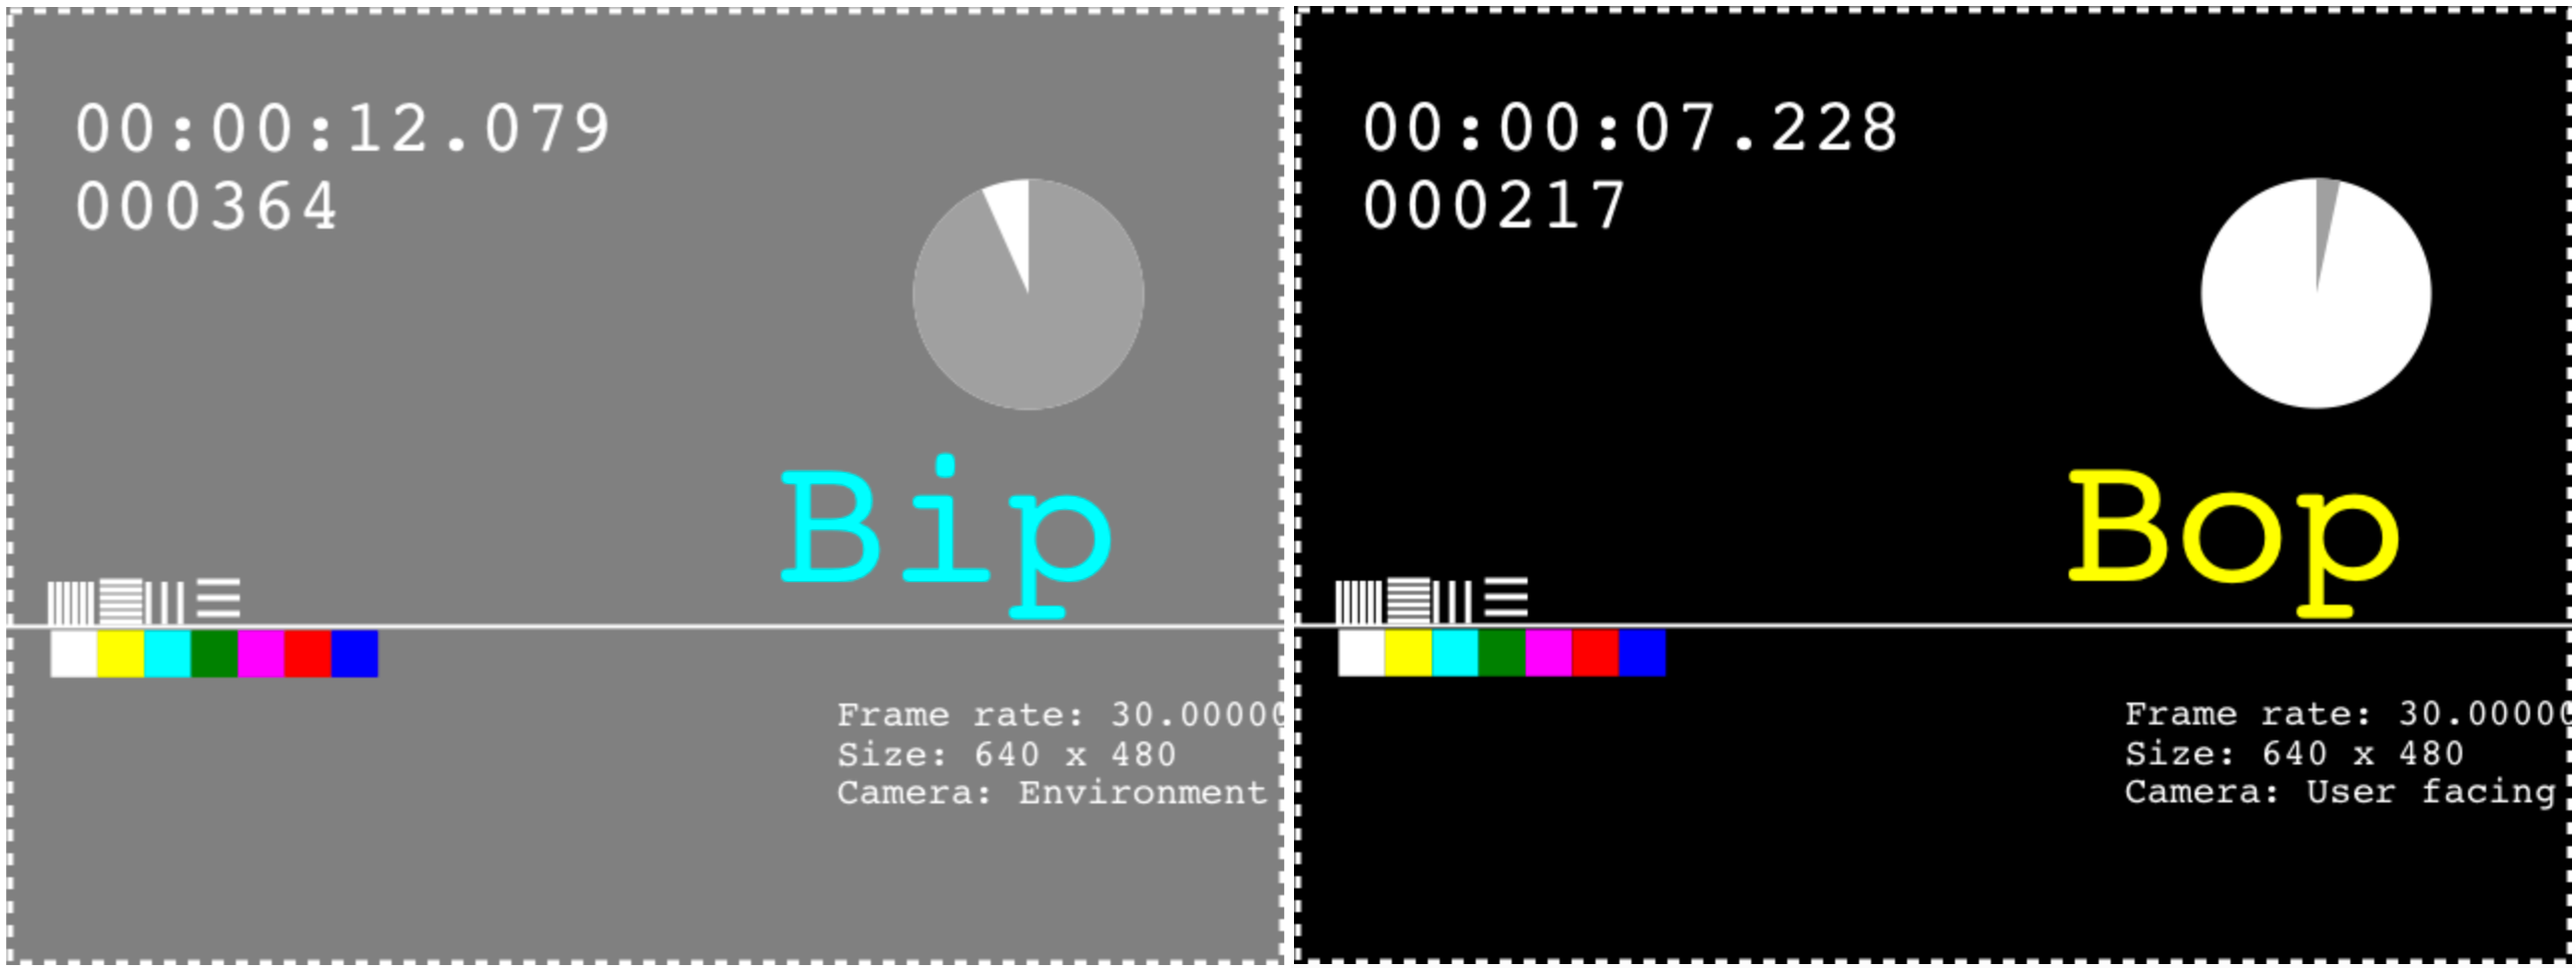
In the Develop > WebRTC menu, you can select “Use Mock Capture Devices” to replace the use of real capture devices with a mock one. The mock loops a bip-bop AV stream, as displayed below. When used as an incoming stream, the mock’s predictable data makes it easy to evaluate aspects of streaming media playback including synchronization, latency, and selection of input device.
The mock can also be useful for running automated tests in a continuous integration system. If you are using one and want to avoid prompts from getUserMedia, set the camera and microphone policy for the website to Allow through the Safari Preferences… > Websites panel.
ICE Candidate Restrictions
ICE candidates are exchanged at an early stage of a WebRTC connection to identify all possible network paths between two peers. To do this, WebKit must expose ICE candidates of each peer to websites so that they can be shared. ICE candidates expose IP addresses, and notably those that are host IP addresses can be used for tracking.
In many network topologies, however, host ICE candidates are not necessary to make the connection. Server Reflexive and TURN ICE candidates usually suffice for ensuring the connection, regardless of whether it is used for exchanging video or arbitrary data. Without access to capture devices, WebKit only exposes Server Reflexive and TURN ICE candidates, which expose IPs that could already be gathered by websites. When access is granted, WebKit will expose host ICE candidates, which maximizes the chance the connection succeeds and is efficient. We make this exception since we believe that the user is expressing a high level of trust to the website by granting access to his or her capture streams.
Some test pages may assume the availability of host ICE candidates. To test this, turn on “Disable ICE Candidate Restrictions” from the Develop > WebRTC menu, and reload the page.
Legacy WebRTC and Media Streams API
Through the WebRTC standardization process, the RTCPeerConnection API progressively improved in various ways. Initially callback-based, the API changed to being fully promise-based. API initially focused on MediaStream moved to MediaStreamTrack. Thanks to the upstream effort by the WebRTC in WebKit team, the RTCPeerConnection API was aligned with these two major changes.
We have turned the legacy WebRTC APIs off by default on Safari Technology Preview 34, and plan to ship Safari 11 on macOS High Sierra and iOS 11 without these APIs. Keeping the legacy API around limits our ability to move forward faster on WebRTC. Any website looking to bring support to Safari may need to make other adjustments, so this is as good a time as ever to move away from these legacy APIs. Existing websites may still rely on these legacy APIs, which you can check by turning on “Enable Legacy WebRTC API” in the Develop > WebRTC menu.
More precisely, the following APIs are only available with the legacy API switch turned on, with suggestions for how to update:
partial interface Navigator {
    // Switch to navigator.mediaDevices.getUserMedia
    void getUserMedia(MediaStreamConstraints constraints, NavigatorUserMediaSuccessCallback successCallback, NavigatorUserMediaErrorCallback errorCallback);
};

partial interface RTCPeerConnection {
    // Switch to getSenders, and look at RTCRtpSender.track
    sequence<MediaStream> getLocalStreams();
    // Switch to getReceivers, and look at RTCRtpReceiver.track
    sequence<MediaStream> getRemoteStreams();

    // Switch to getSenders/getReceivers
    MediaStream getStreamById(DOMString streamId);
    // Switch to addTrack
    void addStream(MediaStream stream);
    // Switch to removeTrack
    void removeStream(MediaStream stream);

    // Listen to ontrack event
    attribute EventHandler onaddstream;

    // Update to promise-only version of createOffer
    Promise<void> createOffer(RTCSessionDescriptionCallback successCallback, RTCPeerConnectionErrorCallback failureCallback, optional RTCOfferOptions options);
    // Update to promise-only version of setLocalDescription
    Promise<void> setLocalDescription(RTCSessionDescriptionInit description, VoidFunction successCallback, RTCPeerConnectionErrorCallback failureCallback);
    // Update to promise-only version of createAnswer
    Promise<void> createAnswer(RTCSessionDescriptionCallback successCallback, RTCPeerConnectionErrorCallback failureCallback);
    // Update to promise-only version of setRemoteDescription
    Promise<void> setRemoteDescription(RTCSessionDescriptionInit description, VoidFunction successCallback, RTCPeerConnectionErrorCallback failureCallback);
    // Update to promise-only version of addIceCandidate
    Promise<void> addIceCandidate((RTCIceCandidateInit or RTCIceCandidate) candidate, VoidFunction successCallback, RTCPeerConnectionErrorCallback failureCallback);
};
Many sites polyfill API support through the open source adapter.js project. Updating to the latest release is one way to cover for the API gap, but we recommend switching to the APIs listed in the specification.
Here are a couple examples of how to use the latest APIs. A typical receive-only/webinar-like WebRTC call could be done like this:
var pc = new RTCPeerConnection();
pc.addTransceiver('audio');
pc.addTransceiver('video');
var offer = await pc.createOffer();
await pc.setLocalDescription(offer);
// send offer to the other party
...
And a typical audio-video WebRTC call could be done like this:
var stream = await navigator.mediaDevices.getUserMedia({audio: true, video: true});
var pc = new RTCPeerConnection();
var audioSender = pc.addTrack(stream.getAudioTracks()[0], stream);
var videoSender = pc.addTrack(stream.getVideoTracks()[0], stream);
var offer = await pc.createOffer();
await pc.setLocalDescription(offer);
// send offer to the other party
...
MediaStreamTrack-based APIs make sense as most of the handling is done at this level. Let’s say the 640×480 default resolution of the capture video track is not good enough. Continuing with the previous example, changing it dynamically can be done as follows:
videoSender.track.applyConstraints({width: 1280, height: 720});
Or we might want to mute the video but keep the audio flowing:
videoSender.track.enabled = false;
Oh but wait, let’s say that we actually want to apply some cool filter effects to the current video track, like in this example. All that is needed is a few function calls that will not require any SDP renegotiation:
videoSender.track.enabled = true;
renderWithEffects(video, canvas);
videoSender.replaceTrack(canvas.captureStream().getVideoTracks()[0]);
Access to Capture Streams
Safari allows users to have complete control over a website’s access to their capture devices.
First, the user is prompted to grant website access to capture devices when getUserMedia is first called. Unlike other browsers, however, Safari does not require the user to choose specific devices; instead the prompt requests access for all devices of a specific type, like all cameras or microphones. This reduces fatigue from being prompted multiple times, and potentially avoids training the user to always tap “Allow”. One common case where this could happen is switching between the front and back cameras of iOS devices. The resolved promise in getUserMedia returns a device that fulfills the constraints, and subsequent calls to getUserMedia for the same device type will avoid presenting additional prompts to the user. If you want to allow the user to switch to a different device, be sure to provide UI to do so.
Second, the user can decide to always allow or deny access to the camera and microphone through Safari preferences. The user may do this on a per-origin basis and can even set a general policy for all websites.
Third, once a website creates a MediaStream for a device, icons appear in the Safari UI and the system menu bar indicating that capture devices are being used. The user may click or tap that icon to pause the camera and microphone mid-stream. Here WebKit will send silent audio and black video frames, and your website can present appropriate UI by listening for the mute and unmute events on MediaStreamTrack.
Finally, to avoid unexpected capture, WebKit only allows one tab to capture video or audio at a time. Tabs already using capture devices will see their MediaStreamTracks silenced and receive the mute event when a new tab gains access.
Fingerprinting
navigator.mediaDevices.enumerateDevices exposes the list of capture devices available, and can be queried by websites even when access to those devices is not granted. For users that have custom camera and microphone setups, this can add to a user’s fingerprinting surface. When access hasn’t yet been requested or is explicitly denied, WebKit avoids exposing this additional information by returning a default list of devices that may not correspond to the actual set of devices available. In addition, the devices have missing labels as per the specification. Once access is granted, the full list of devices and their labels are available.
Media Capture and Autoplay Video
In previous posts we’ve discussed changes in autoplay policies for video on macOS and iOS. We’ve adjusted the policies on both platforms to accommodate WebRTC applications, where it is common to want to autoplay incoming media streams that include audio. To address these scenarios while retaining the benefits of the current autoplay rules, the following changes have been made:
MediaStream-backed media will autoplay if the web page is already capturing.MediaStream-backed media will autoplay if the web page is already playing audio. A user gesture will still be required to initiate audio playback.
Performance
WebRTC is a very powerful feature that can have numerous applications. We all know that with great power comes great responsibility. Designing WebRTC applications require to have efficiency in mind from the start. CPU, memory and network have limits that can seriously affect user experience. This problem should be tackled by both the web engine and the web application. On the web application side, various mechanisms are already available: choosing the right video resolution and frame rate, selecting the right video codec profile, using CVO, muting tracks at the source, and performing client-side monitoring of WebRTC statistics.
Feedback
That concludes our deep dive into WebRTC and media capture. Our door is always open to hear feedback from you. File a bug, email web-evangelist@apple.com, or tweet to @webkit.